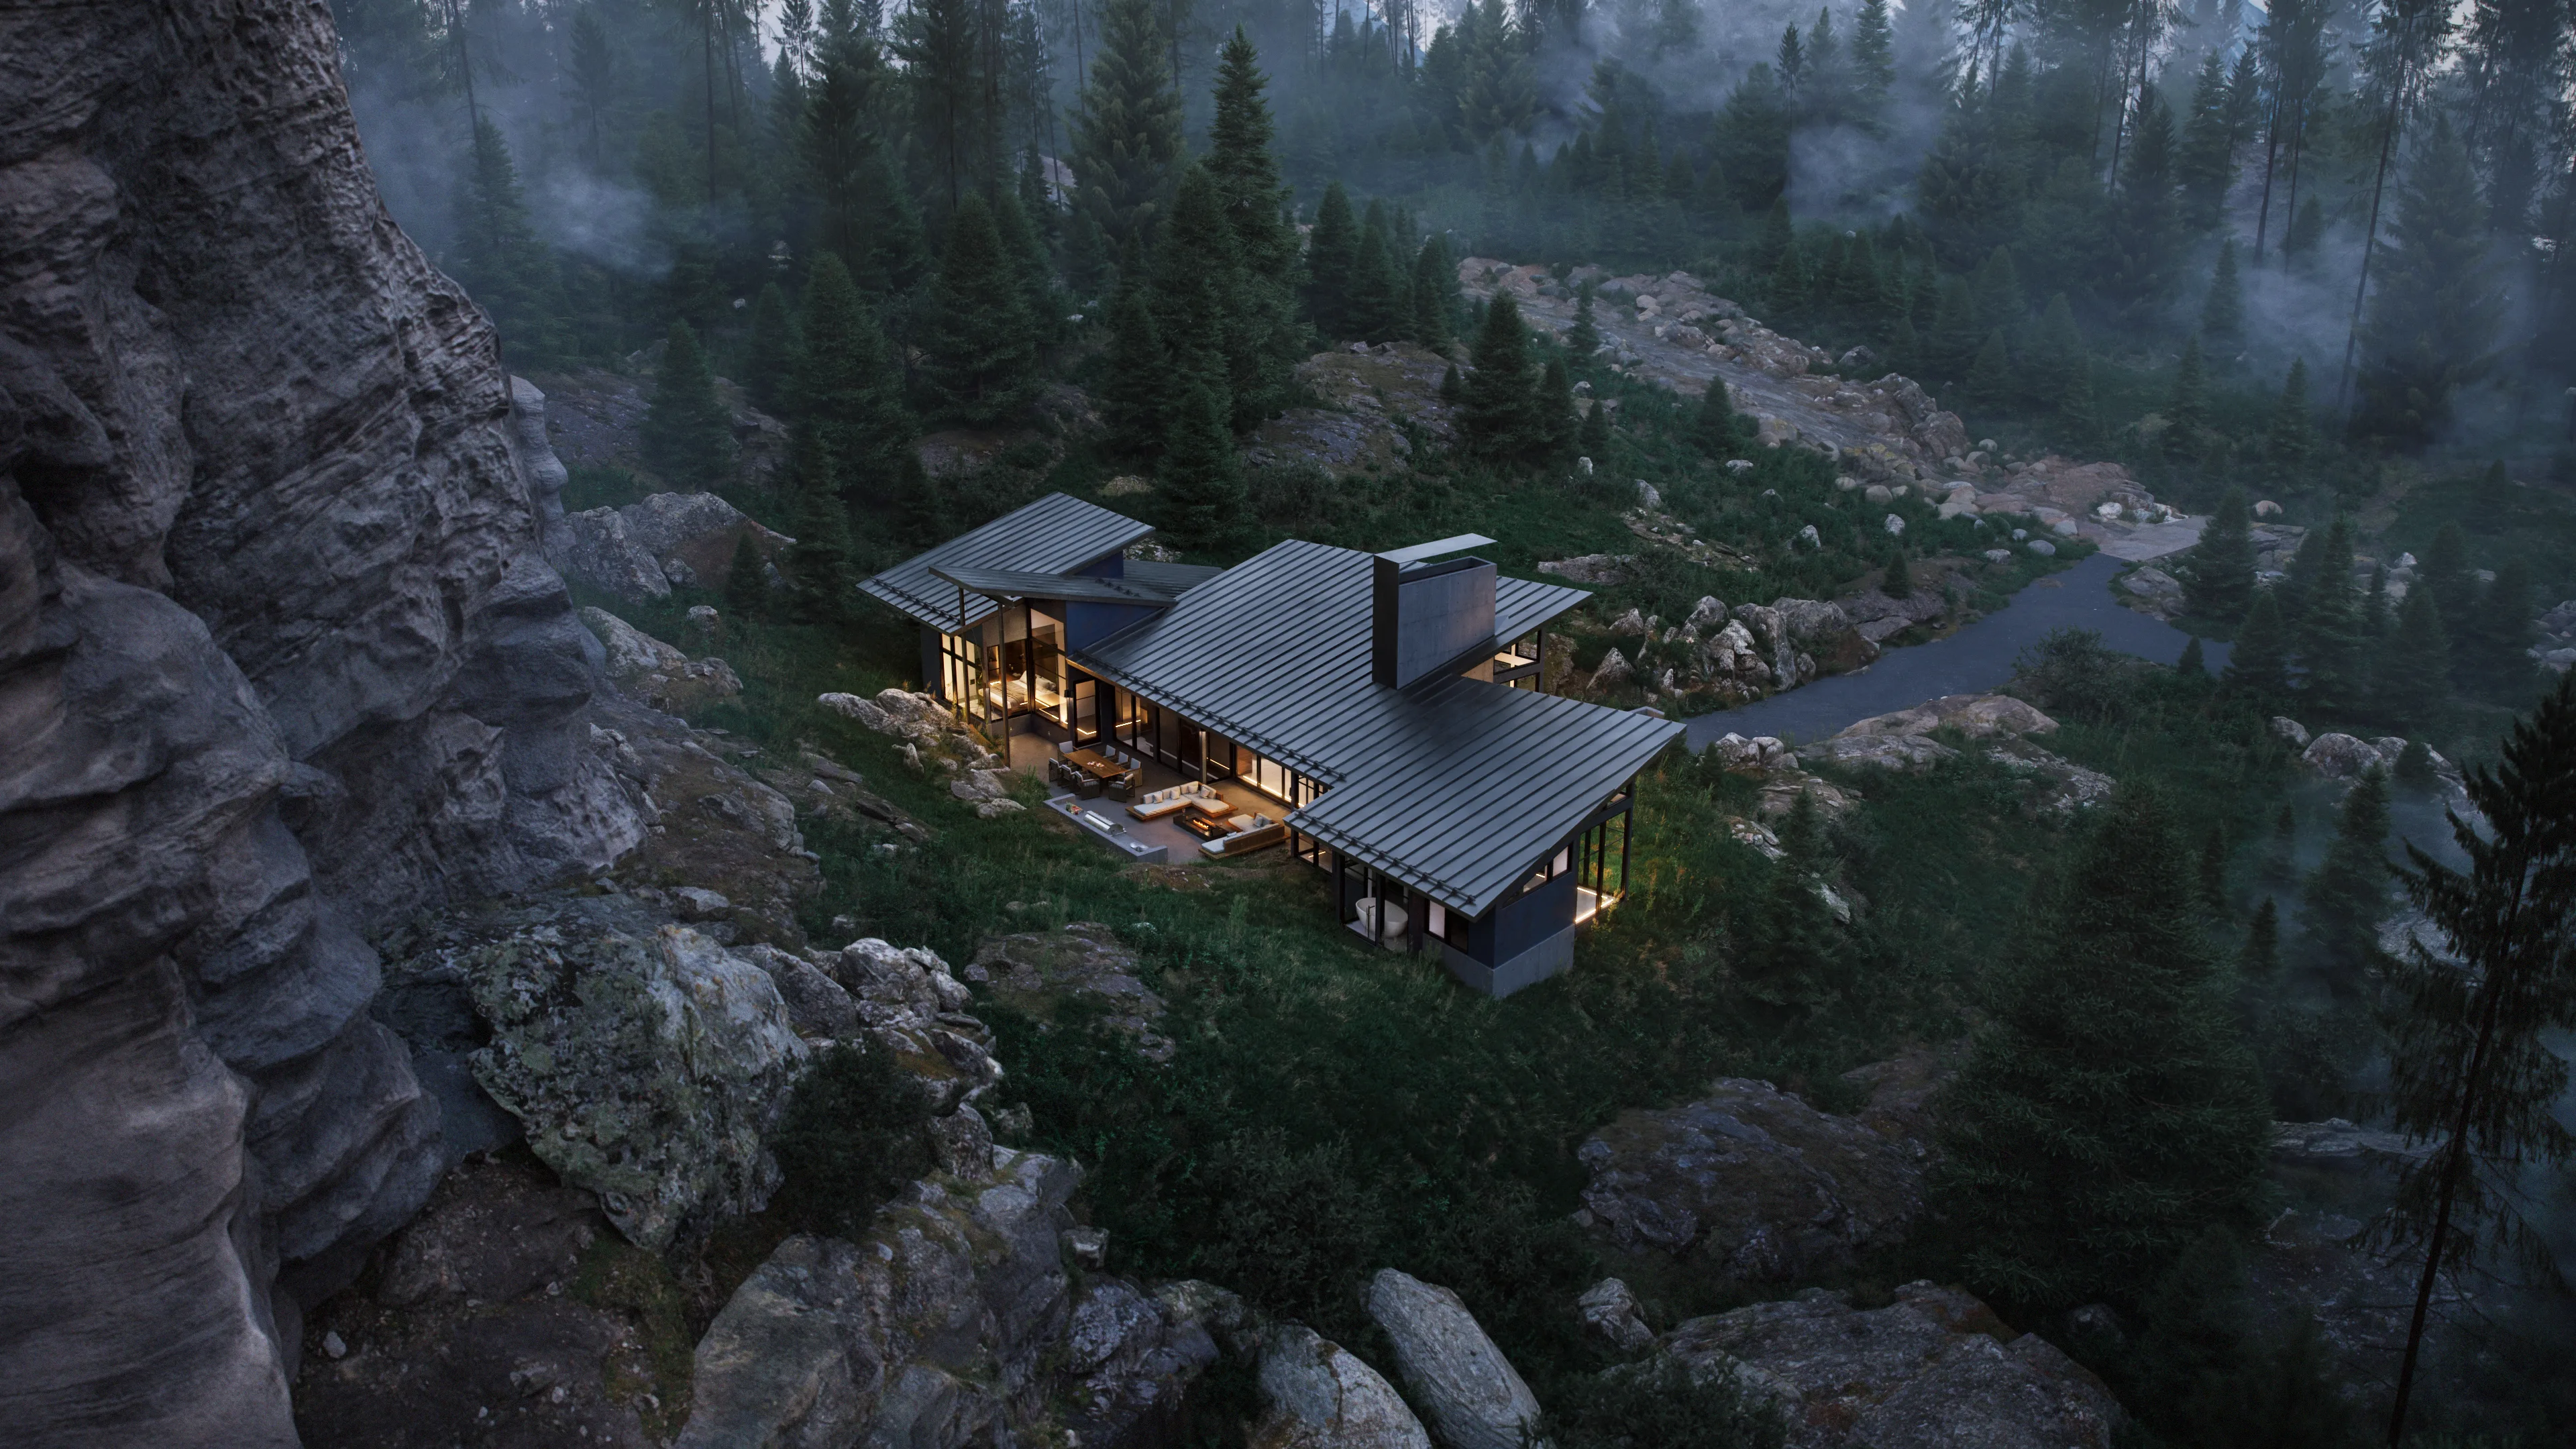
Two renders of the same building, lit the same way, can land completely differently depending on where the camera sits. The angle is what turns a technically correct image into one that sells a project, and it's the decision clients most often leave to chance or settle too late. By the time a render is halfway built, moving the camera to a fundamentally different position often means redoing much of the work, so the angle is a choice worth making deliberately and early.
The good news is that the decision follows a short logic. The best angle for any render is the one that shows the single most important thing about the project to the people who need to see it, using the composition that makes that thing unmistakable. A handful of workhorse angles cover most projects: the eye-level hero shot, the 45° corner, the low angle, and the aerial. This guide covers how to choose between them, the camera heights and lenses that make each work, and how to brief the angles you want so the render comes back right the first time.
Why the angle decision comes before the render
Camera angle is not a finishing touch you apply at the end — it's a decision that shapes what gets modeled and how the scene is built. An artist framing a low three-quarter view of a building's entrance builds and details the scene differently than one composing a straight-on facade. Once that work is underway, asking for a fundamentally different viewpoint isn't a tweak; it can mean rebuilding a large part of the shot.
That's why angle belongs in the brief, not the revision round. Deciding the viewpoint before production starts is the difference between a smooth first draft and a costly reset. It's also why studios ask so many questions up front: the right angle depends on information only the client has — which feature matters most, where the image will appear, and what the audience needs to understand. For how to communicate that clearly, see our guide on how to brief a rendering studio.
None of this means you need to speak in camera terminology. You don't have to name a focal length or a perspective type. You need to be clear about intent — "show how the tower dominates the corner," "make the courtyard feel intimate," "prove the unit gets morning light" — and let the artist translate that into a camera position. The vocabulary below simply helps you have that conversation with precision.
Start with purpose: what the image has to do
Before choosing an angle, answer one question: what job is this render doing? The same building calls for different viewpoints depending on whether the image is selling, explaining, or getting approved. A marketing hero shot for a listing, a design study for a client review, and a context view for a planning submission are three different photographs of the same subject.
Marketing images are built to create desire, so they favor angles that flatter — a low three-quarter view that gives a building presence, a warm eye-level shot that puts a viewer at the front door, a twilight exterior that makes the whole thing glow. Design and review images prioritize clarity over drama: straighter, more neutral angles that show proportion and relationships honestly, because their job is to inform a decision, not sell one. Approval and planning images serve yet another master, emphasizing context, massing, and how the building sits among its neighbors.
Once the job is clear, name the one feature the image must prove. Every strong render has a subject — the double-height entry, the roofline, the way the kitchen opens to the terrace, the relationship to the park across the street. Choose the angle that makes that subject unmistakable, and let everything else in the frame support it. An image that tries to show everything equally usually shows nothing memorably.
The core camera angles and when to use each
Most architectural renders draw from a small set of angles, each with a job it does well and a failure mode to avoid. The table below is the quick reference; the exterior and interior sections that follow add the specifics.
| Angle | Best for | Effect | Watch out for |
|---|---|---|---|
| Eye-level (hero shot) | Most exteriors and interiors | Natural, relatable, true human scale | Can feel flat if shot dead straight-on |
| 45° corner | Interiors, building corners | Shows two planes at once, creates depth | Needs careful framing to stay balanced |
| Low angle | Tall buildings, entrances | Grandeur, height, drama | Exaggerates scale; can distort verticals |
| High angle | Layouts, spatial organization | Reveals plan and how spaces connect | Loses the human, at-eye connection |
| Aerial / bird's-eye | Sites, master plans, landscape | Scale and context nothing else shows | Detail is lost; needs context modeled |
| Straight-on | Facades, feature walls, symmetry | Clean, formal, emphasizes balance | Flattens depth and dimensionality |
Exterior angles: eye-level, corners, and the hero shot
For most exterior renders, the eye-level view is the reliable default. Placing the camera at roughly human height, around 1.5–1.7 meters, gives the viewer a natural, walk-up perspective that reads as real and lets them judge the building's proportions instantly. It's informally called the hero shot for a reason: it's the image that most often carries a listing or a project page.
To give an eye-level exterior depth, shoot it from a corner at about a 45° angle rather than dead straight-on. A corner view shows two faces of the building at once, which conveys dimensionality and mass far better than a flat frontal view. Reserve the straight-on shot for when symmetry is the point — a formal facade or a feature entrance where balance is the story you want to tell.
When a building's height or grandeur is the selling point, drop the camera and tilt up into a low angle. Low angles emphasize scale and work especially well on towers and dramatic entrances, though they exaggerate — so keep an eye on vertical lines, which distort quickly when the camera tilts. For scale and setting, an aerial view shows the project among its surroundings in a way no ground shot can. And for pure atmosphere, a twilight exterior remains the most reliable hero in the business — see our guide on twilight rendering. On lenses, a 24–35mm equivalent keeps exteriors natural; wider than that and the distortion starts to show.
Interior angles: corners, height, and one-point views
Interiors follow a different rulebook, and the corner view is the artist's default for a reason. Placing the camera in a corner of the room captures two walls in a single frame, which gives a space depth and a sense of dimension that a flat wall-facing shot can't. For most interior renders, a two-point corner composition is the safest way to make a room feel like a place rather than a diagram.
Camera height matters even more indoors. The working guideline is roughly 1.2–1.4 meters, a touch below standing eye level, which reads as natural and keeps furniture in comfortable proportion. Drop it slightly for kitchens and bathrooms, where a lower camera flatters counters and fixtures, and raise it a little in large, open rooms where a higher vantage helps take in the whole space. A camera set too high makes a room feel like a floor plan; too low and it feels cramped.
The straight-on, one-point perspective has its place indoors too. Pointed down a hallway, a symmetrical living room, or toward a statement fireplace or feature wall, a centered one-point view feels calm and deliberate and draws the eye straight to the subject. Use it when there's a clear focal point worth centering; use the corner view when you need to convey the shape and flow of the whole room. For matching the angle to the mood and finish you're after, our guide to rendering styles pairs well with this.
Composition basics that make an angle work
The right angle still needs sound composition to pay off, and a few fundamentals do most of the work. Keep the horizon level and vertical lines vertical unless you're deliberately going for a dramatic low-angle effect — nothing undermines a render faster than a building that appears to lean. When verticals converge because of a tilted camera, it reads as an error even to viewers who can't name why.
Frame with the rule of thirds rather than centering everything: place the subject and key lines off-center, and let the composition breathe. Use the scene's own geometry — a path, a fence line, a run of windows — as leading lines that draw the eye toward the subject. A bit of foreground, a tree branch, a planter, a stretch of paving, adds depth and stops an image from feeling like a flat elevation.
Finally, watch the lens. Wide-angle lenses fit more into the frame but stretch and distort the edges, which is why a moderate focal length usually looks more believable than an ultra-wide one. The goal in almost every architectural render is an image that feels like a photograph a person could actually take, and restrained lensing is a large part of what sells that realism.
How many angles, and briefing them to your studio
Choosing the right angle is inseparable from choosing how many renders to commission, because each view should earn its place by showing something the others don't. Rather than ordering several similar frontal shots, pair angles that do different jobs — a hero eye-level exterior, a corner that adds depth, an aerial for context, a couple of interior corners for the key rooms. For sizing that set, see our guide on how many renders your project needs.
Briefing angles is easier than it sounds. You don't need camera language; you need intent and references. Mark up a floor plan or site plan with rough arrows showing where you'd like the camera and what it should point at, and pull two or three reference images whose viewpoint you like. Say what each view has to prove, and flag any feature that must appear. From there, a good studio will propose camera positions before committing hours to modeling, so you approve the angle while it's still cheap to change.
Want the right angle the first time?
Send us your plans and a note on what each view should show — we'll propose camera angles and a fixed-price package, with a free estimate back within 2 hours.
Request a Free Estimate